
As I mentioned in one of my earlier posts, one of my neighbours had left an armoire, side table and T.V. on the end of his driveway, with a sign saying "free". I, of course grabbed them up with the intention of transforming them into something " awsome," at a later date. The T.V. is happily living in my husband's " man-cave" in the basement (this room will one day ,of course, be redecorated). But for now, it holds an assortment of mismatched furniture no longer wanted upstairs, and my "found" treasures. I will be revamping the armoire and side- table soon, in a future post, but for today I have another tale of a discarded treasure
It seems this same neighbour is moving, and as I was driving by the abandoned house, I spied a little white chair sitting out by the side of the road.... in the dark.... all alone. I stopped the car and got out. Could it be a hidden treasure? Upon closer inspection, I saw that it was indeed made of wood- a little rickety, and definately in wrough shape. The paint was chipping off ( bonus in my books), and it looked a little grungy. And it was covered in snow. But no matter- I took that lonely little chair home with me.
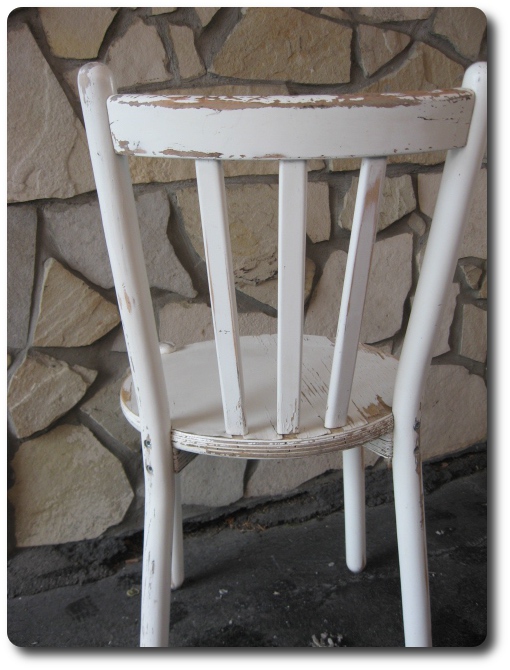
This is what the chair looked like when I found it ( after a good cleaning with TSP). Oh, and I had to put a little wood glue between the two front legs and the seat cuz it was a little wobbly.
It already looks kind of Shabby Chic, but I can do better !!!!!!
This is what the chair looked like when I found it ( after a good cleaning with TSP). Oh, and I had to put a little wood glue between the two front legs and the seat cuz it was a little wobbly.
It already looks kind of Shabby Chic, but I can do better !!!!!!

Here's the chair in it's original condition.

These are the original cracked and chipped areas of the chair. Close-up detail of the front.
Here's a close-up of the back. It's already chipping- so I don't have to do much to it.

Took out the handy-dandy palm sander ( in freezing,snowy weather)
Thank god we have a car-port for shelter)
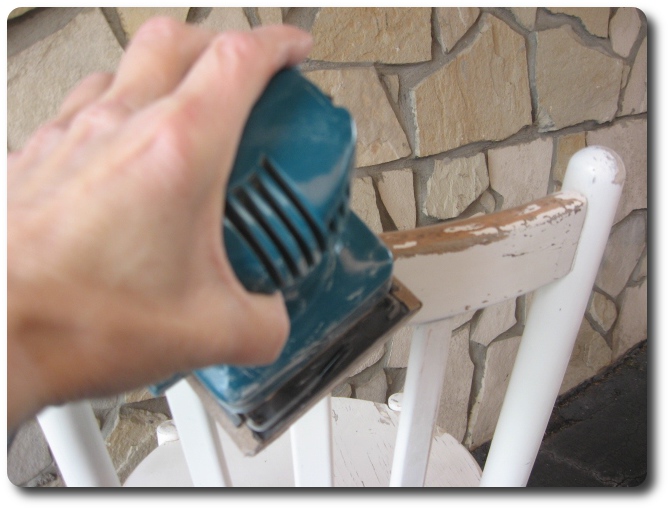
I really should have warn gloves- my hands were freezing. But I did wear the oh-so-fashionable dust-mask and safety goggles!!!! ( Sorry- no pics as the hubby was at work)

Then I sanded some more areas that still looked to shiny. I went right to the bare wood in some spots, and in other spots I just smoothed out the really rough chips and cracks. Don't worry- I left plenty of chippy paint for that lovely Shabby Chic look.

See the nice big chips toward the back of the chair!!!!!! Now that I'm thoroughly freezing, I dust off the chair and take it back into my work area for some final touches.

I hot-glued some antique-finish furniture tacks over the exposed steel screws, after clipping off the part that sticks into the wood.
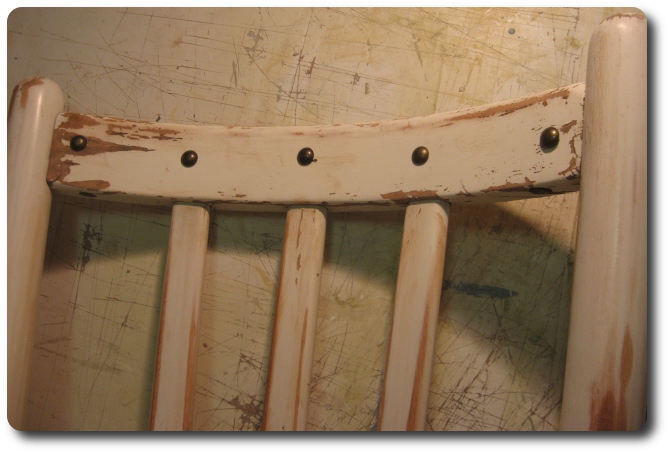
Then I added more antique- finish furniture tacks to the front for some extra detail. Now, all I had to do was go over the whole chair with a light coat of brown shoe polish ( I read about this technique on an
e-how posting on the web). It gives the painted wood an aged look, darkens the newly sanded areas, and protects the chair all in one. Great, cheap idea !!!!!!
Now she's ready to go to her new home in my living room. I decided to use it as a display table/plant stand since it's pretty rough for sitting on. I can just see my mother sitting on it and ripping her pants ( Youch!!!!)
And here she is in all her Shabby Glory!!!!!!

I really love this option with the blue hydrangeas and the birdhouse, but I already have two bunches of
off-white hydrangeas in the ajoining living/dining room.
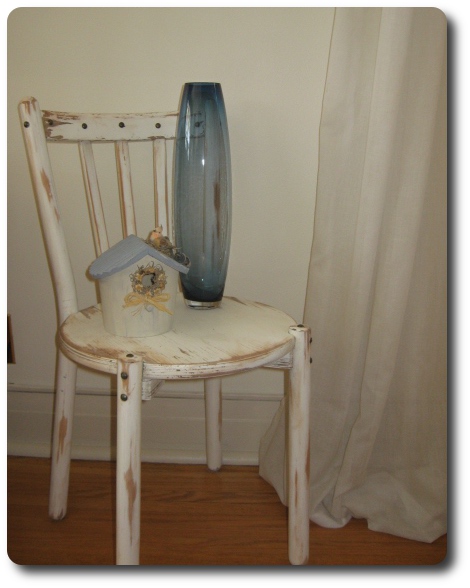
This blue vase is really pretty too!!!!

And here's the third option.
I'm not really sure yet what is going to perch on the chair- maybe one of my readers can make a suggestion. My living/dining room is antique white and a soft grey/blue combo. My husband suggested a live trailing plant of some sort- maybe with white flowers.
Well, there she is......rescued from a life of being thrown in the trash. I'm really happy with it, and best of all- it was free and very quick to do.
Bye til next time. Au Revoir!!!!!
I'm linking up to Metamorphisis Monday at
Between Naps on the porchhttp://www.betweennapsontheporch.blogspot.com/
Made by me Mondays ><img src="http://www.skiptomylou.org/wp-content/uploads/2010/01/button2.jpg" /></a><br />
Made by me Mondays ><img src="http://www.skiptomylou.org/wp-content/uploads/2010/01/button2.jpg" /></a><br />